Here is a tutorial for a simple half-apron. All it takes is two large rectangles for the 'skirt', and 3 smaller ones for the waistband and ties.
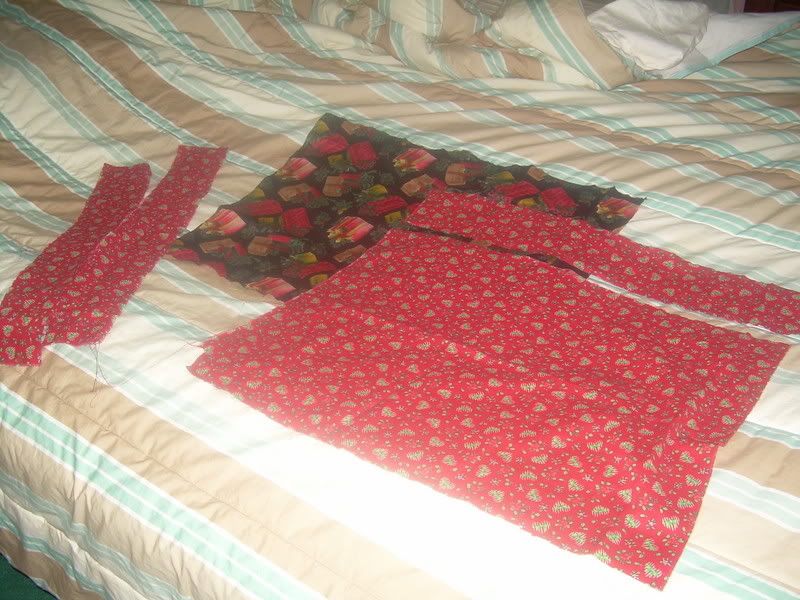
1. For the width, measure around your waist for as far as you want the apron to wrap around you. I used the side seams of the pants I was wearing as a guide. You'll need to add 1 inch to this (for 2 half-inch seam allowances). Cut two pieces like this--one for the outside and one for the lining.
Cut a strip of fabric as wide as the waist, and four inches deep, for the waistband.
The ties are four inches deep by as wide as you need to be able to tie them. The full width of the fabric (45 inches) would make a nice sash. Mine are a little shorter than that because I'm using leftover fabric. (This being a frugal blog, you should also know the black fabric was bought on clearance after Christmas last year.)
NOTE: if you're going to add a pocket or any decorations to the front, now is the time to do it.
2. Pin your big rectangles right sides together along one side, across the bottom and up the other side. Sew on these seams. Leave the top open.
 3. Clip the corners. This will make the skirt lay nicer when you turn it.
 4. Turn the skirt inside out and press it. You now have something like a pillowcase, only with a long end open.
5. Fold the ties in half and sew along the long seam and across the end. Trim your seams and turn the sashes inside out. Press.
6. Take the waistband and press up a half inch along one long edge. Press in the short sides with a half inch seam.
7. Now take the waistband and pin the right side of it to the back of the apron. Be sure the short ends of the waistband are folded in. The folded in edges will match the finished edge of the skirt. Sew along the long edge.
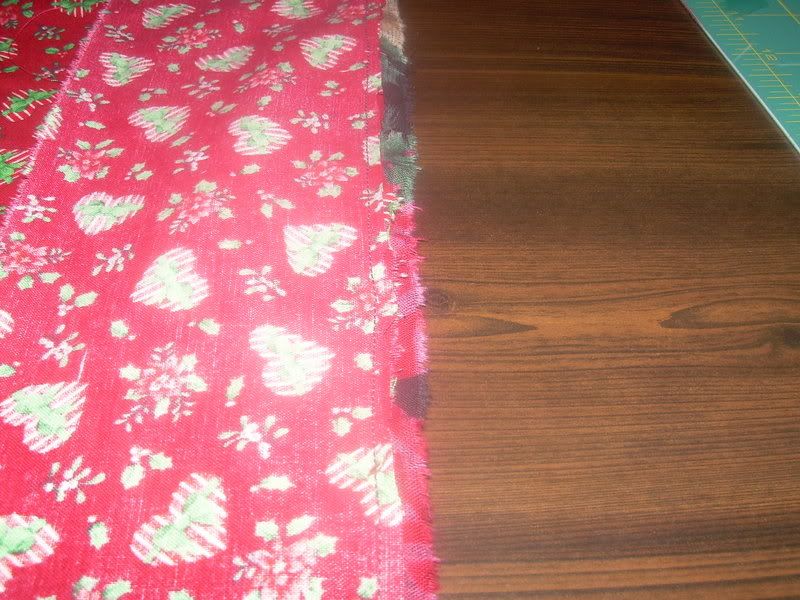
8. Trim the seam allowance of the waistband, pretty close to the seam. Don't trim the front of the skirt (that's the black print you see along the edge). Grading seam allowances lets them lay nicer when you press them.
9. Now flip the waistband over to the front. Pin along the edge and stitch. This would be a nice place to do some decorative stitching, if you'd like.
Be sure that you only stitch the long edge, not the short sides!
You will now have a waistband with two opened edges. This is a good thing, so long as you remembered to keep your short ends tucked in.

10. Take the unfinished edge of your ties and make a little pleat so that it will fit into the opening of the waistband. You can tack this in 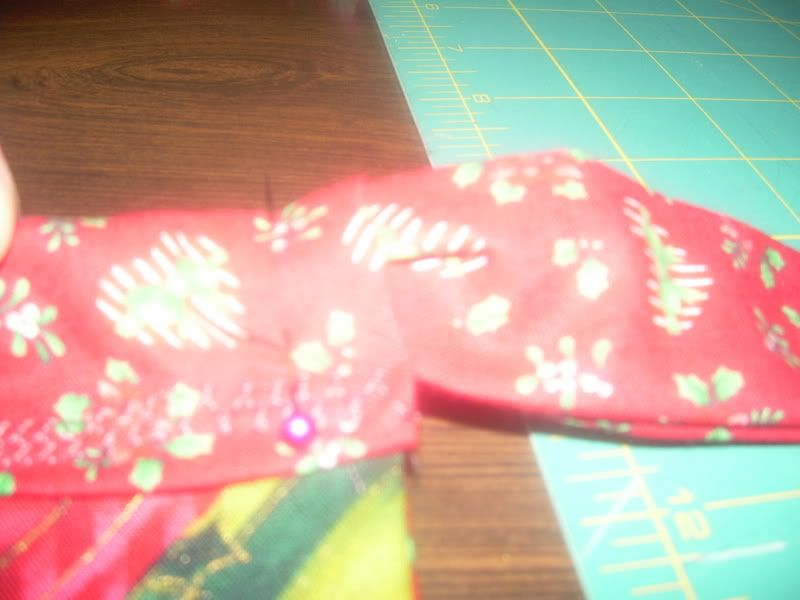 place if you want. I just held it while doing the next step.
place if you want. I just held it while doing the next step.11. Tuck the tie into the waistband a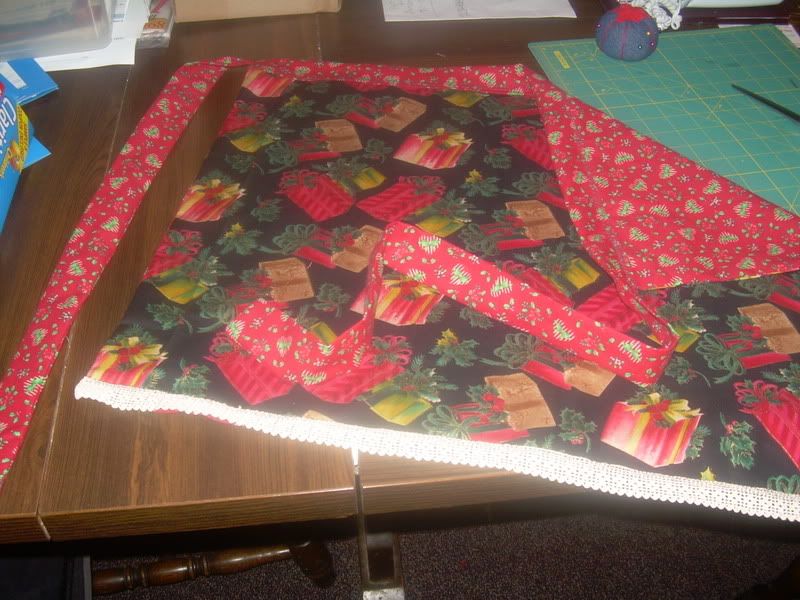 nd sew in place.
nd sew in place. Hey, look! You're finished! I added some lace to th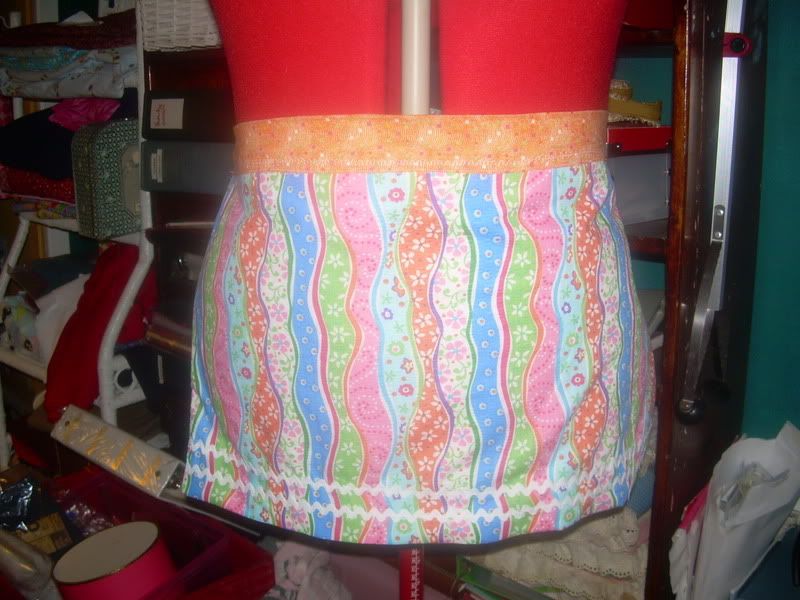 e bottom of mine.
Here is another version, a little more for the spring/summer!
I hope you enjoyed this tutorial, and that it's clear enough. This is such a simple project that I hope it encourages some of you to dust off your sewing machines. Just think: no gathers, no buttonholes, no zippers! No darts! This can go together quickly and would make a nice gift!


9 comments:
THANK YOU!
I'm making aprons this year as Xmas gifts. Your post came just in time because I don't (or didn't) know what I was doing.
Very nice! I really like the red fabric... Christmas?? I wish I had a sewing machine working! I only own 3! LOL Though they all live in the attic.
Don't feel bad, Jude. I have one in my garage that was originally over $3,000. One of those 179 stitches plus embroidery capability Janomes. I ran it into the ground sewing for my daughter in the 80s. Now I just have the simplest machine, which is fine with me.
Boomie, I sent you a reply on your site. You're welcome!
That is neat. I like how it can be reversible.
I like to see what you are doing...very very nice!
Blessings,
Robin
What lovely colors. someday. . . I will sew.
Mom2Fur- what a wonderful tutorial! Wouldn't a cute apron presented with a cookie mix be a cute gift for teachers, sunday school teachers or hostess gift? You did a great job! BTW-my surgery went great and I am finally up a little at a time. I just had to check in to see what you were up to, and of course you've been busy!
This is so sweet and pretty! I am all thumbs with this sort of thing but Gracie is LOVING this!! I think she has just discovered her gifts for everyone!
Hugs,
Sue
Oh my gosh, I've been gathering fronts of aprons all week. That is a much easier pattern. I should have stopped here earlier. I wanted to wish you a Happy Thanksgiving. I hope your mom is on the mend too!
Post a Comment