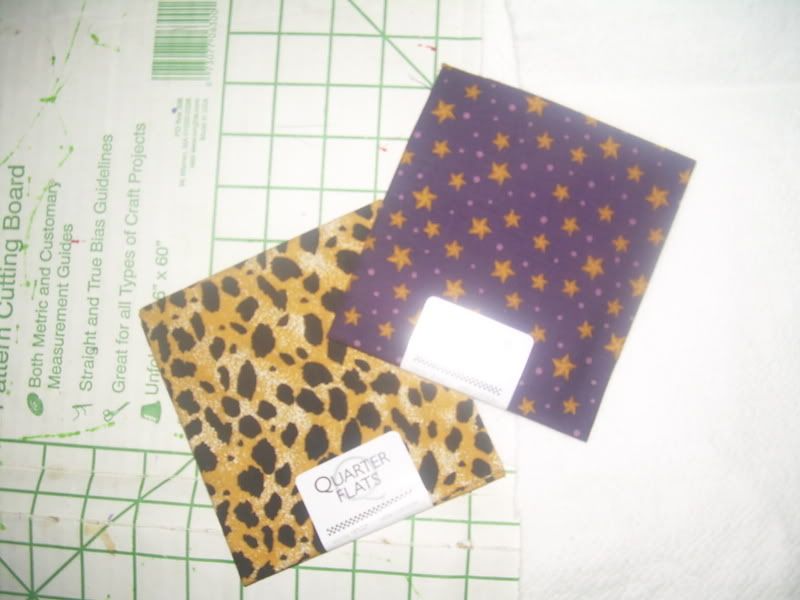
1. Start with two coordinating fat quarters. Actually, for this I used 2 'quarter flats' from Joann's. They measure 18x22 inches.
2. Cut the pieces in half so you have 2 9x22 inch pieces of each. (I just clip at the 9 inch mark and tear--
 fabric always tears along the straight grain.)
3. Using one 9x22 inch piece as a pattern, cut a piece of something that will give the tote bag 'body.' I used some leftover quilt batting. It isn't thick, just a little heavier than felt.
4. Baste the batting to the wrong side of your lining fabric, close to the edge. Trim off any excess batting.
(This is folded to show the lining side and the batting side)
5. Fold in half lengthwise, right sides together, and stitch about a half inch from either long side.
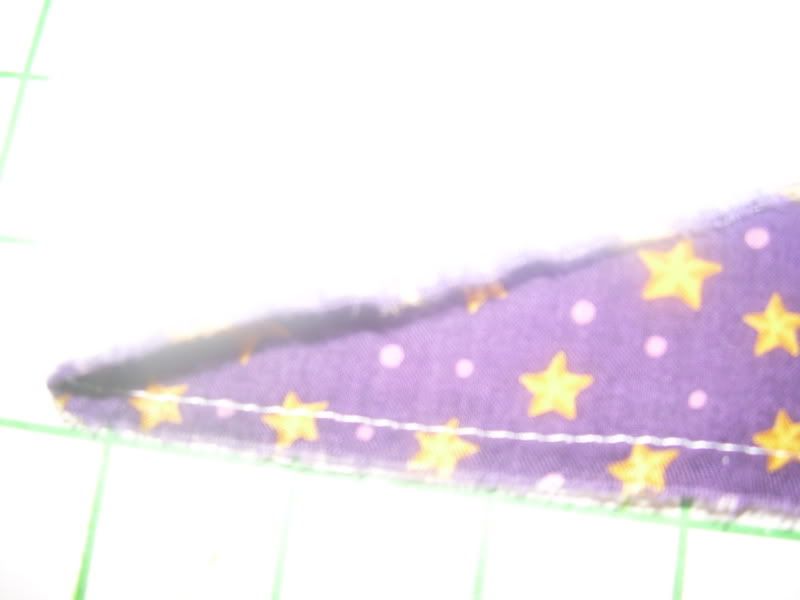
6. This part's a little tricky, so I hope I'm clear about it. You want to fold the bottom of the bag to make a point, with the side seam running up the middle. Measure 1 1/2 inches in from the point and mark a line across. Sew across this line. (This is going to make a squar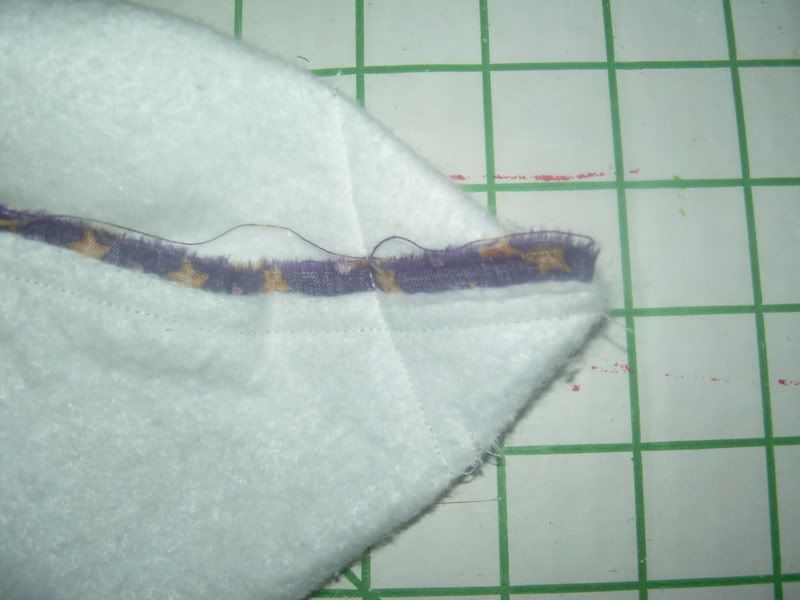 e bottom on your tote.)
e bottom on your tote.) 7. Trim away the excess fabric on the point. (Sorry, my camera wouldn't take a clear picture!)
8. Repeat steps 5-7 with your outer fabric. At this point, if you're ambitious, iron your seams flat.
9. Slip the outer layer inside the lining, right sides together. Pin along the top, matching seams. Stitch around the top, with a half inch seam...leaving about 5 or 6 inches open for turning.
10. Trim away about half of the lining and batting seam to reduce bulk. (Don't trim the seam of the outer layer. This 'grading' of the seam will help it lay nicely.)
11. Top stitch along the top, encasing the raw edge. 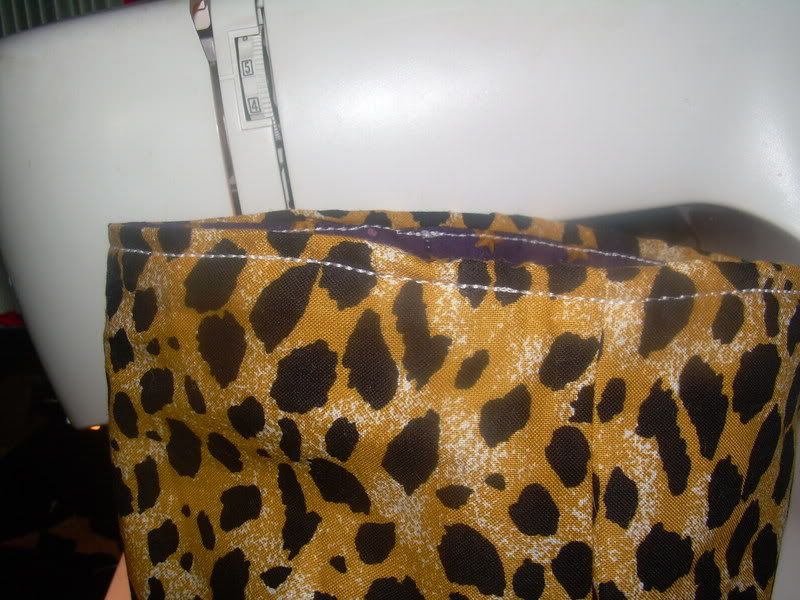
12. From the remaining fabric, cut 2 strips 2 1/2 inches by 22 inches. Cut a piece of batting the same size.
13. You can baste the batting to the wrong side of one strip. But this time around, I just layered the two fabrics right sides together and put the batting underneath them. I stitched all 3 together with a half-inch seam, leaving one end open for turning. (Actually, I would have been better off basting the batting to the lining...it was a pain trying to get them to turn 'together.')
14. Grade the seams of the handle the same way as step 10. Trim the corners.
15. Turn the strap right side out. Turn in the raw edge.
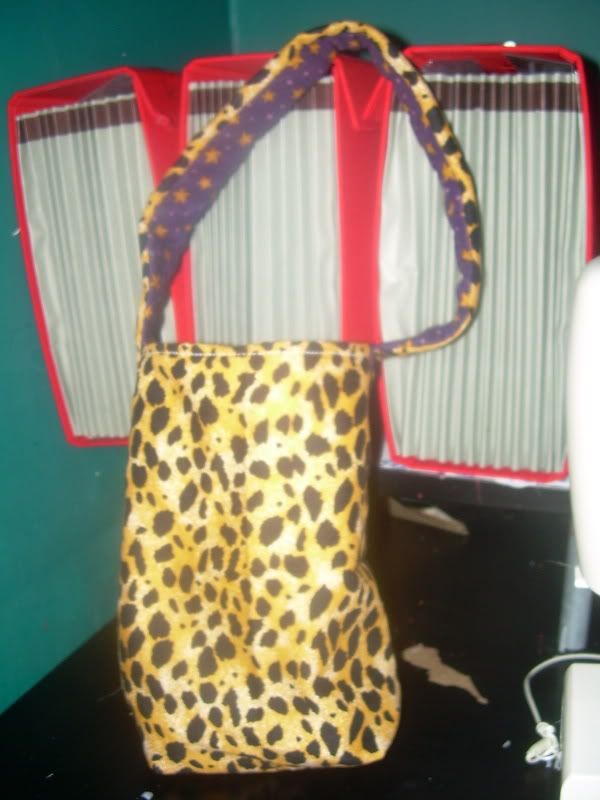
16. Center the ends of the straps over the side seams and pin. Stitch in place with a strong seam. I used a saddle stitch and made a 'square'.

17. Enjoy! You can probably do this in less than an hour, not having to stop and take pictures and blog about it.
Hope you enjoyed my tutorial and that it was somewhat clear and fun to follow!
Please visit Shereen at "Waiting for Him" (over there on my links list) for more "Sew Crafty Friday" goodies!


2 comments:
Oh, how cute. Thanks for the great tutorial. I never thought of doing one out of fat quarters. You did a great job. I'm going to print it out to save. Thanks for participating this week.
This so cute!! Great tutorial!
Post a Comment